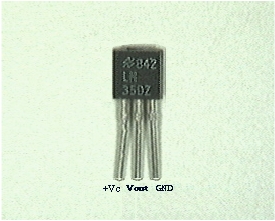
I got a temperature sensor called LM35. The package similar to common transistor and slightly doubt on its look. I bought a few weeks ago from Ebay. Once i got it, it was hard to handle it. The pins were really fragile and thought it was better for me to buy the sensor that already soldered on a PCB. But, without the PCB, the cost is very cheap. Finally, I ended up to continue this lab with simple sensor connection and I think I never use the sensor in the next project after all.

In this article, I took 2 examples from these website and simplify it.
http://www.ladyada.net/learn/sensors/tmp36.html
http://pscmpf.blogspot.com/2008/12/arduino-lm35-sensor.html
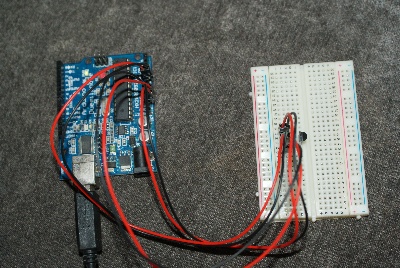
Just follow what you read from these 2 article to build the circuit with Arduino. Below is my final construction with Arduino and temperature sensor. The sensor is attached to a small breadboard.

I like to remind you about the picture above: Please ignore the pair wire i used to connect the sensor pin to arduino. I do not want to waste my pair wires just to have a right look on the circuit. But, what you should know is for each pin from the sensor goes to one connection at arduino pin hole.

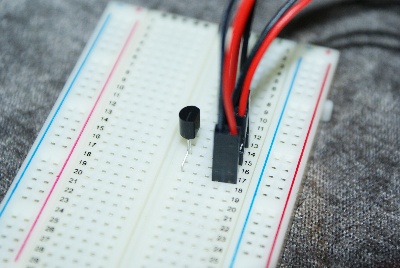
The sensor sit on the breadboard.
For the arduino programming, both website not give a correct script. You can try scripts from both website and learn how to debug the script.
//declare variables
float tempC;
int tempPin = 0;
void setup()
{
Serial.begin(9600); //opens serial port, sets data rate to 9600 bps
}
void loop()
{
int tempC = analogRead(tempPin);           //read the value from the sensor
tempC = (5.0 * tempC * 100.0)/1024.0;  //convert the analog data to temperature
Serial.println(tempC);              //send the data to the computer
delay(1000);                           //wait one second before sending new data
}
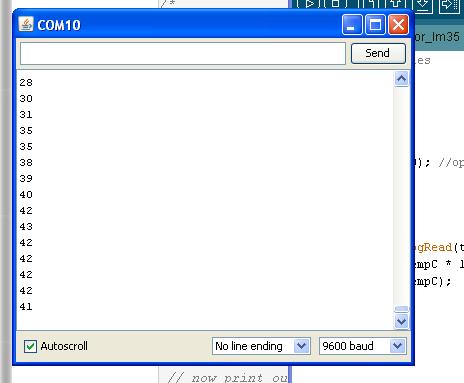
I think above script is correct. Just upload the script into Arduino and watch the reading at the serial monitor.

What can you see from the above picture, the reading is from 28oC room temperature to 41oC when I put the sensor near a lighter.
That's all for now.
